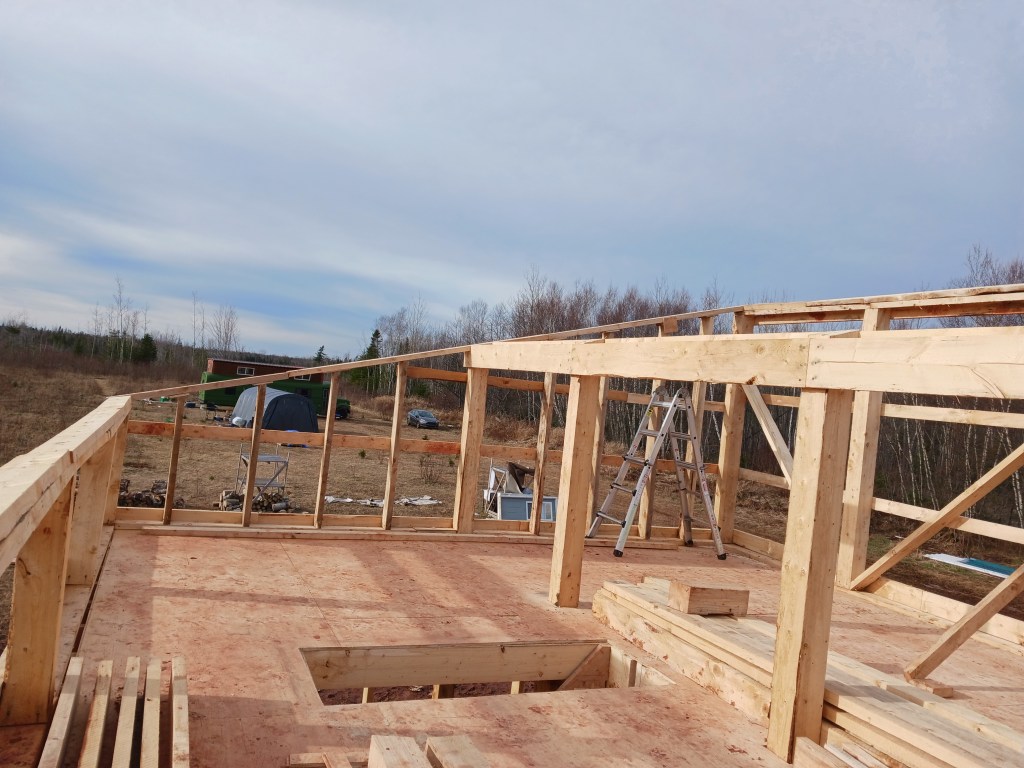
Sometimes, things do go right in a build like this, but more times than not, things go somewhat sideways. Putting the sillplate on the sloped studwalls was one of those times. For one thing, in order to do it properly, the first six inches on each end of the middle beam had to be notched down two inches. This six inches just happens to be where the support post stands. So we had to notch eight inches wide, six inches long, and two inches down. If we owned a chainsaw, this would have been swift and straightforward. We don’t. We ended up needing the circular saw, the sawzall, 2 different handsaws and a makeshift chisel. It took quite a while.
Once the notch was properly situated, we laid the sillplate….and discovered that almost every one of the studs was between 5/8 and 1 inch too short. A couple were nearly 2 inches lacking. So, we could either recut every single stud, or find a plan B.
Plan B — good solid shims. We got the sillplate fully supported, but I was not confident in the holding power given the thickness of the shimming vs the length of our nails. So for each stud, I attached a 6×6 square of plywood, nailed into the sillplate and the stud both. In a sense, I made homemade hurricane straps.
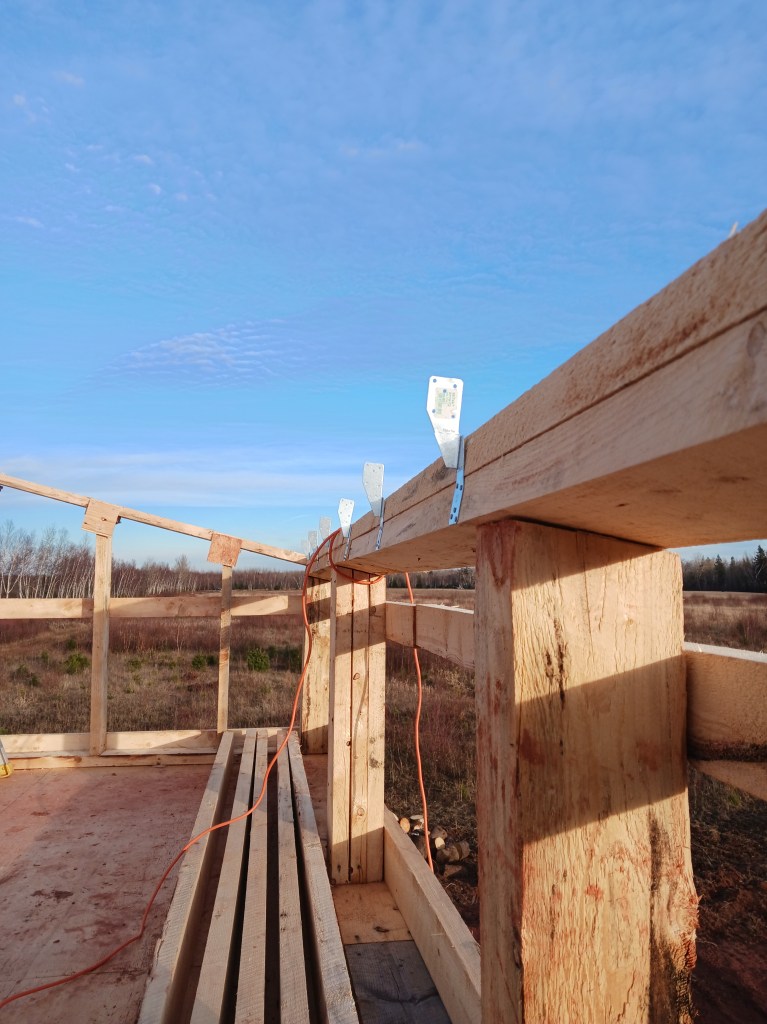
Once both slant-wall sillplates were placed, shimmed and secured, we moved on to the actual hurricane straps. This was the last thing we needed to accomplish before the rafters could go up. We used three lines of hurricane straps — on each edgewall and on the middle beam also. Around here, most don’t use them. They are not required under the building code and are seen as an unnecessary expense. Such small pieces of metal, easily attached, and yet they are the difference (wind-tunnel tested under tornado-force winds) between catastrophic roof failure or not. Securing my whole roof cost me $40. That seems like pretty good insurance to me.
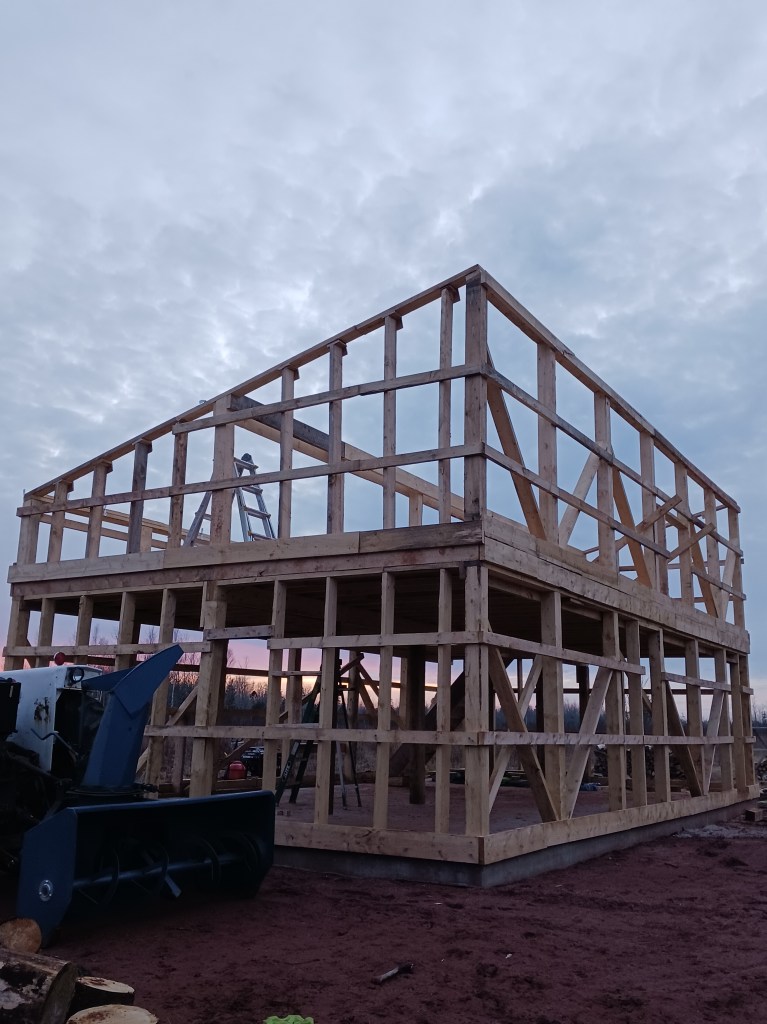
After what seems like an eternity (but was actually exactly one month since the Raising day), we have the full outline of our building.
