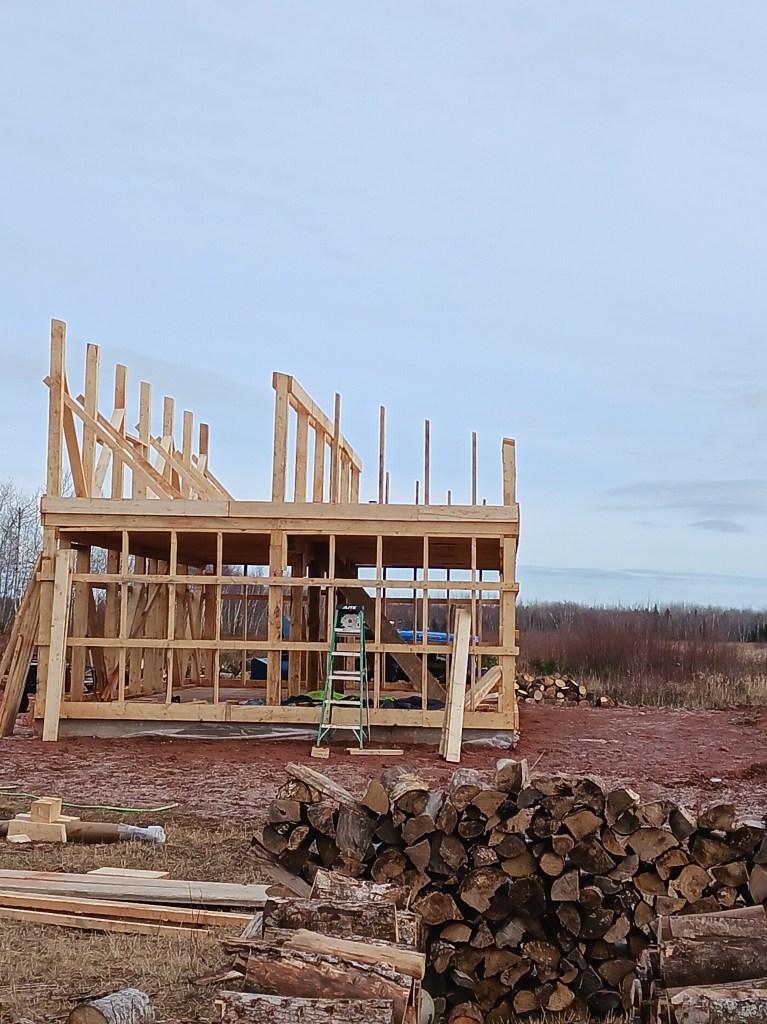
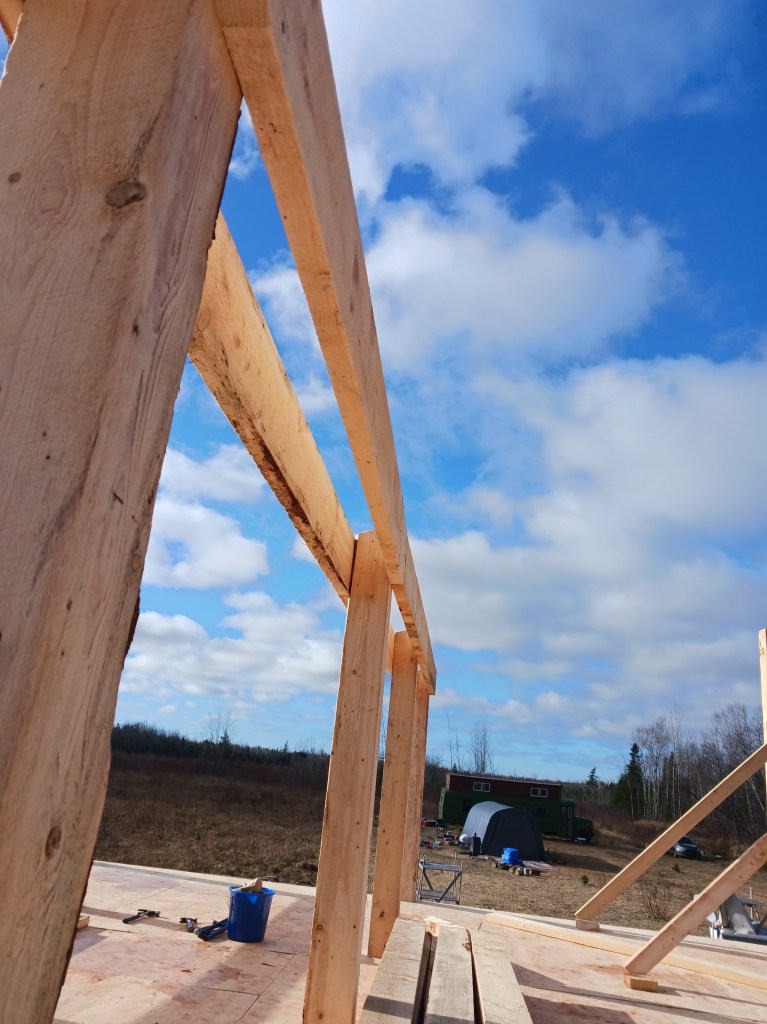
Once the tall posts were up and temporarily braced to the middle of the floor, they needed permanent diagonal wind braces as well. These aren’t terribly difficult to install — just a matter of marking and cutting the correct angle — but they are finicky and precise. Attaching them to a precariously high wall with nothing to brace a ladder against adds spice. It takes time. Everything takes more time than we’re happy with. I have to go back and count the days and remind myself that it has been quite a short time since we began, and our progress, especially as rank amateurs, is quite respectable.
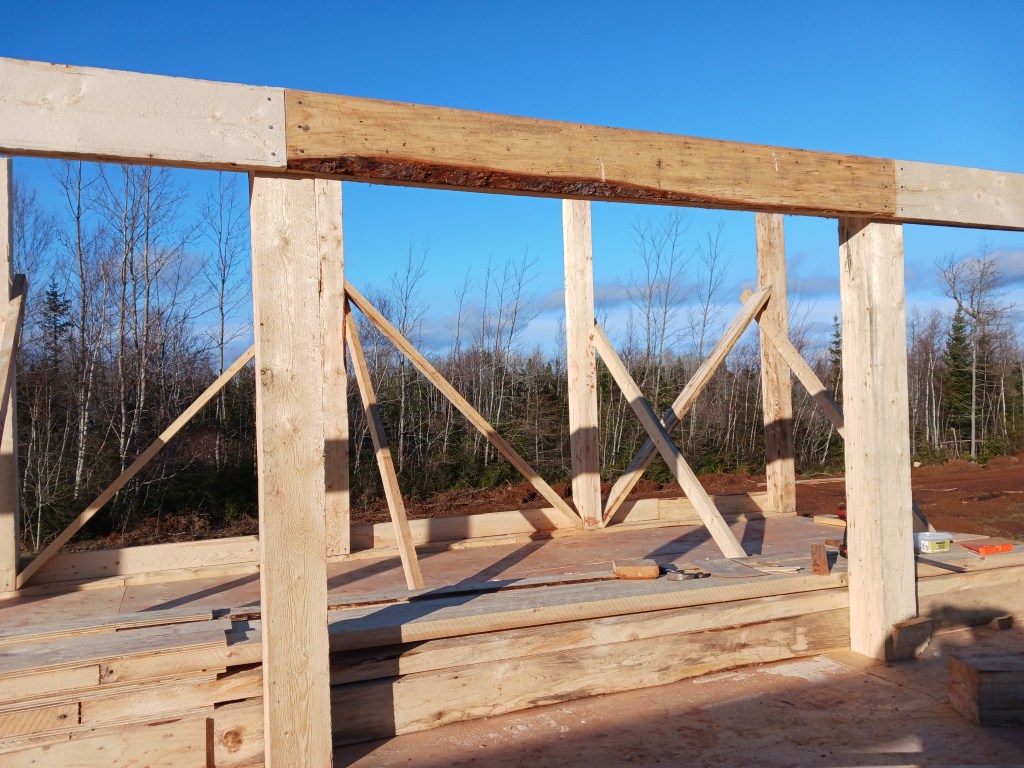
The center beam was much simpler. It involved a lot of cutting, and hammering at not-super-comfortable angles, but it went fairly smoothly. Downstairs, the beam is a triple-laminated, 2×8 beam. Super strong, super heavy-duty. But that is meant to support immense loads in the loft. The upstairs beam just has to support the roof and snowloads, so it needn’t be quite as brawny. The upstairs beam is made of two seperate beams, sandwiching the center row of posts. Because the roof is slanted in only one direction, the two parts of the beam are offset to allow the correct angle, with the full load shared between them.
Next up, we began framing in the stud walls on the ends. These were complicated, because they are on an angle. Which means we had to find a way to measure the correct angle from tall wall to short wall in order to measure and cut appropriately. Frustrating, like so many of these jobs. Naturally, we began on the short side, where we could actually reach everything.